
Is the aesthetic look of your concrete driveway declining due to visible signs of damage? Do not fret! Resolving these issues is remarkably uncomplicated, making for a fulfilling do-it-yourself endeavor. Choosing this strategy can result in significant time and monetary savings. Picture coming home to a splendidly rejuvenated driveway that enhances your home’s external beauty and boosts its overall worth.
In this comprehensive guide, we will walk you through the step-by-step process of repairing cracks in a concrete driveway using accessible tools and techniques. From identifying minor cracks to selecting the right materials and executing the repair work, we’ve got you covered. Say goodbye to surface-level damage and hello to a durable, crack-free driveway that withstands the test of time.
Get ready to discover the secrets to maintaining a beautiful concrete driveway for years to come, all while enjoying the satisfaction of a job well done. Let’s dive in and empower you to take control of your driveway repairs, one crack at a time!
Introduction to Concrete Driveway Repair
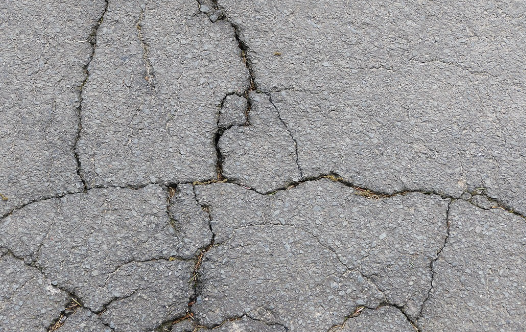
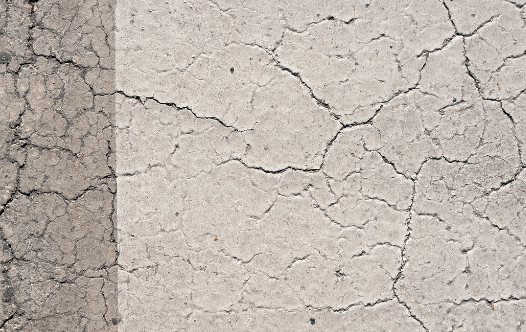
Maintaining a well-maintained concrete driveway is essential for the curb appeal and longevity of your property. Over time, cracks can develop in concrete driveways due to various factors such as weather changes, heavy use, or improper installation. Fortunately, there are DIY solutions available for homeowners to effectively repair these cracks and restore the durability of their driveways.
Repairing cracks in a concrete driveway not only improves the aesthetics but also prevents further damage. Neglected cracks can lead to larger issues like potholes or uneven surfaces, posing safety risks and requiring costly repairs. By tackling this issue proactively, you can save money and ensure the longevity of your driveway.
In this section, we will explore the necessary steps and techniques for repairing cracks in a concrete driveway. From identifying the tools and materials required to providing step-by-step instructions, we’ll guide you through the process of restoring your driveway’s condition. By following these DIY solutions, you can take control of your repairs and enjoy a well-maintained concrete driveway for years to come.
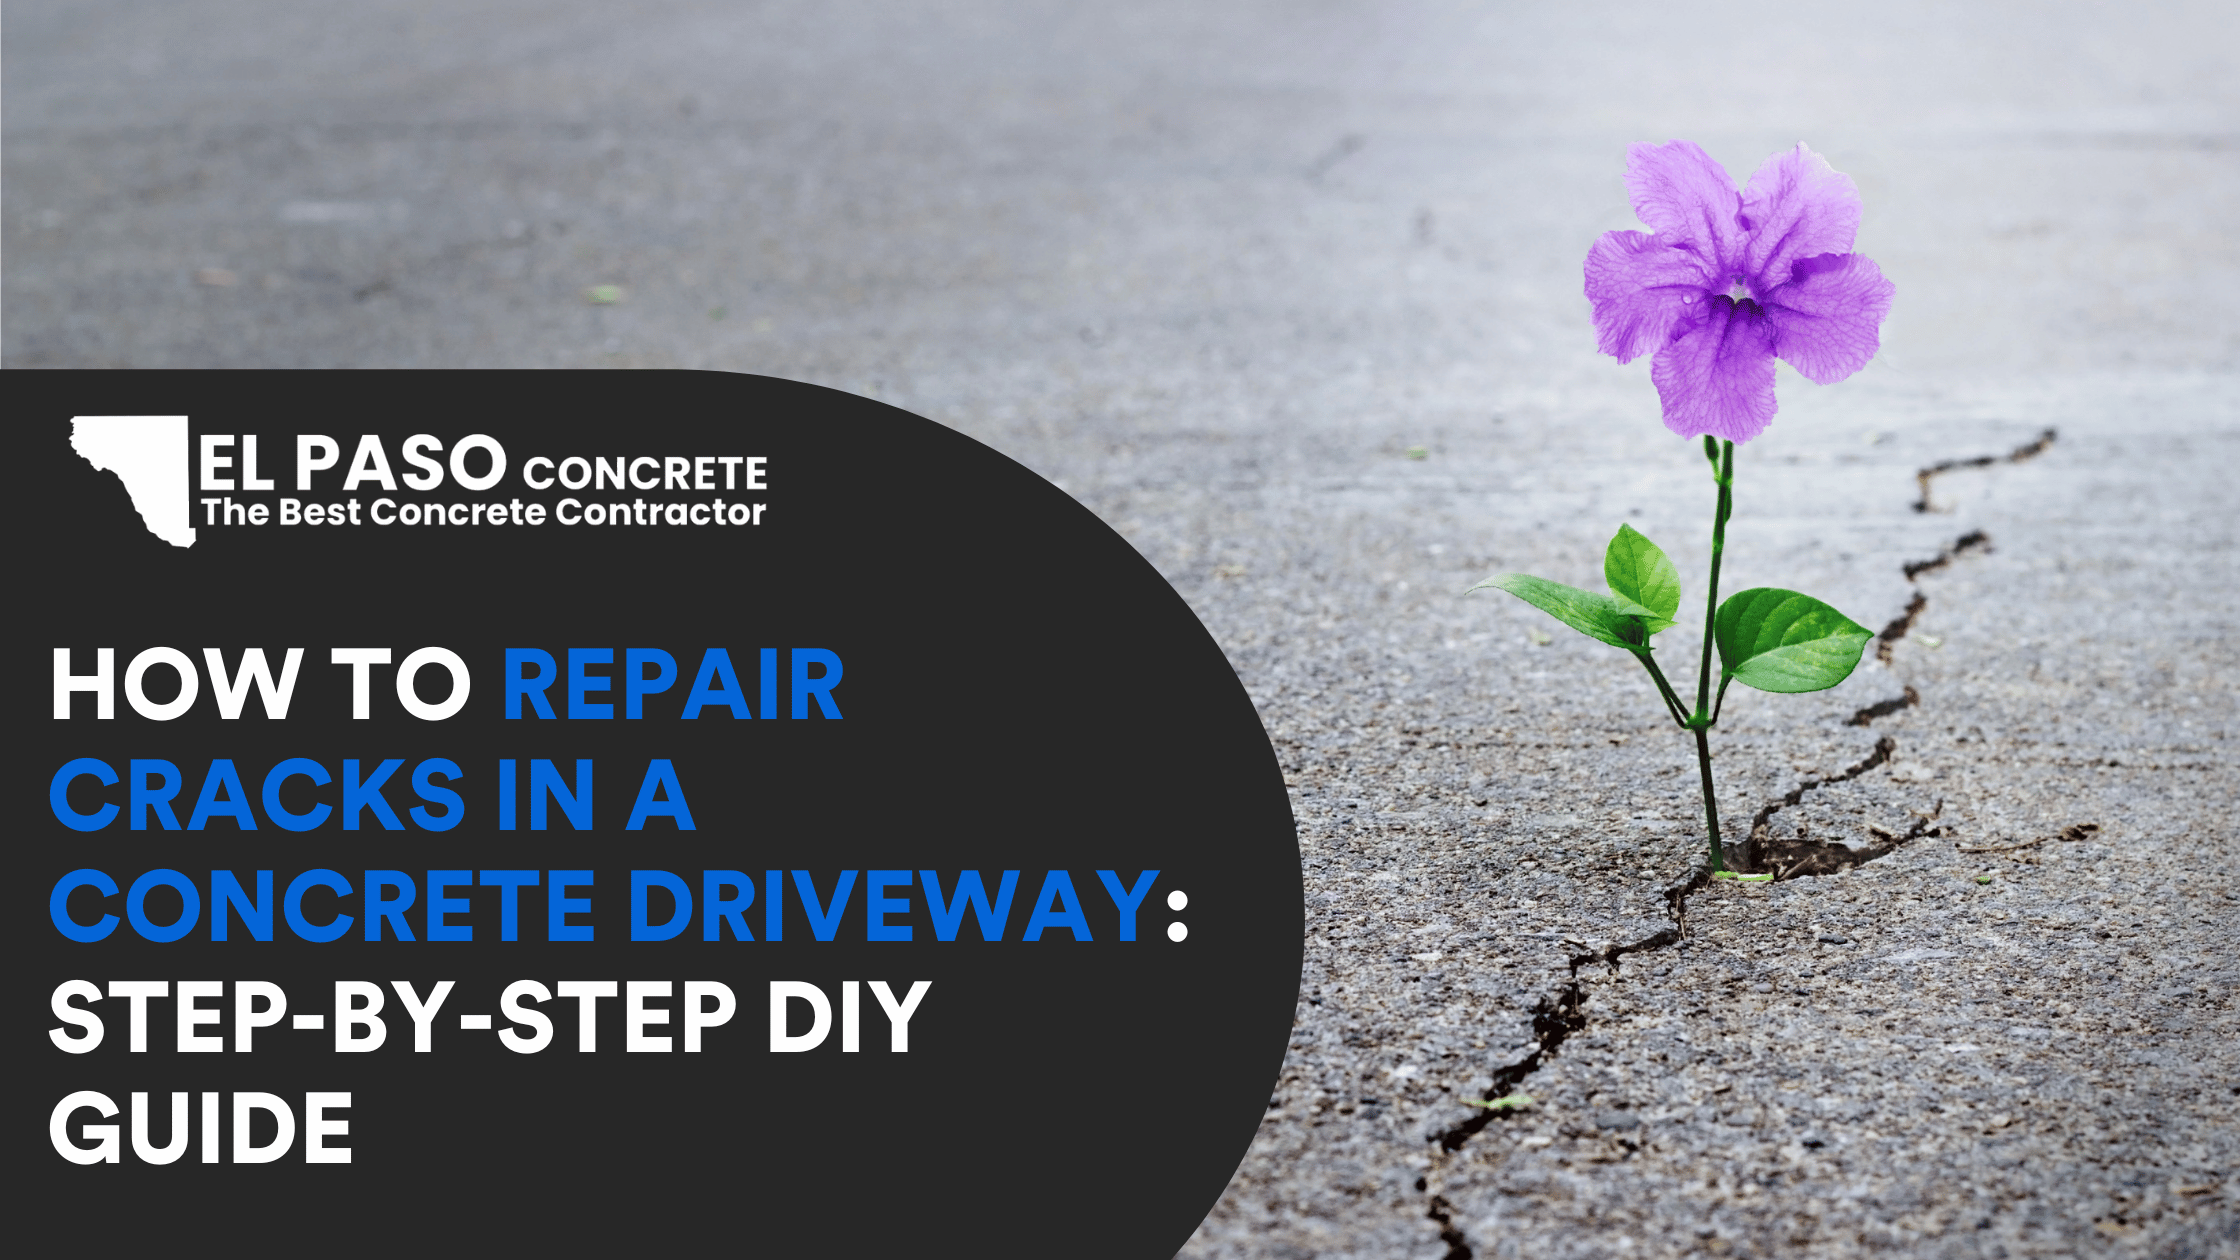
How to Repair Cracks in a Concrete Driveway
When it comes to repairing cracks in your concrete driveway, taking the right steps and using the correct materials is crucial. This section will guide you through the process of allowing the repaired areas to dry and applying a sealer to ensure long-lasting results.
Allow Sufficient Drying Time
After you have filled the cracks in your concrete driveway, it’s essential to allow sufficient time for the repaired areas to dry. The exact drying time will depend on factors such as weather conditions and the type of repair material used. Generally, it is recommended to wait at least 24 to 48 hours before applying a sealer. This waiting period allows the repair material to cure and ensures that it is fully hardened and ready for the next step.
Apply a High-Quality Sealer
Once the repaired areas are dry, applying a sealer is essential to protect your concrete driveway from further damage. A sealer creates a protective barrier that prevents water, chemicals, and other substances from seeping into the cracks and causing additional deterioration. It also enhances the appearance of your driveway and helps to extend its lifespan.
Choose a high-quality sealer that is specifically designed for exterior use on concrete surfaces. Look for a sealer that offers excellent adhesion, durability, and resistance to UV rays and harsh weather conditions. Follow the manufacturer’s instructions carefully when applying the sealer, ensuring even coverage and allowing sufficient drying time before using the driveway again.
By following these steps and using the right materials, you can effectively repair cracks in your concrete driveway and ensure long-lasting results. Taking the time to properly allow drying and applying a quality sealer will help maintain the integrity and appearance of your driveway for years to come.
Remember, regular maintenance and preventive measures are key to keeping your concrete driveway in top condition and avoiding costly repairs in the future.
Concrete Driveway Repair: What to Know Before Getting Started
Smoothing out rough edges and applying a sealer are crucial steps in the concrete driveway repair process. These additional measures help enhance the longevity and appearance of your driveway. Here’s what you need to know:
Smoothing Out Rough Edges
After filling the cracks in your concrete driveway, you may notice rough edges or uneven surfaces. Smoothing out these imperfections ensures a professional and seamless finish. Here’s how to do it:
- Gather the necessary tools: You’ll need a trowel, a putty knife, and a sanding block or sandpaper.
- Start by using the putty knife to scrape away any excess filler material and create a level surface.
- Next, use the sanding block or sandpaper to smooth out any rough areas, ensuring a uniform texture across the repaired sections.
- Be sure to feather the edges of the repaired cracks, blending them into the surrounding concrete.
- Continue sanding until you achieve a smooth and even finish.
Applying a Sealer
Applying a sealer to your repaired concrete driveway is an essential step to protect it from future damage and extend its lifespan. Here’s how to do it properly:
- Choose the right sealer: Select a high-quality concrete sealer suitable for exterior use and compatible with your driveway’s composition.
- Clean the surface: Thoroughly wash the entire driveway using a pressure washer or a solution of soapy water. Make sure to remove any oil stains, dirt, or debris.
- Allow the driveway to dry completely before applying the sealer. Follow the manufacturer’s instructions for the recommended drying time.
- Apply the sealer evenly using a paint roller or sprayer. Start from one end of the driveway and work your way towards the other, ensuring full coverage.
- Allow the sealer to dry according to the manufacturer’s instructions. This typically takes 24 to 48 hours, depending on the product and weather conditions.
- For optimal protection, apply a second coat of sealer following the same steps outlined above.
By smoothing out rough edges and applying a sealer, you’ll achieve a smooth and durable surface for your concrete driveway. These optional steps not only improve the aesthetic appeal but also contribute to the long-term maintenance and preservation of your driveway.
Remember to follow all safety precautions and manufacturer guidelines when working with concrete repair materials and sealers.
Looking for more tips and techniques for concrete driveway repair? Keep reading this comprehensive guide to learn everything you need to know before getting started.
Benefits of Having a Well-Maintained Concrete Driveway
A well-maintained concrete driveway offers a range of benefits that go beyond just a smooth surface for your vehicles. By prioritizing regular maintenance and taking preventive measures, you can enjoy these advantages and increase the longevity of your driveway.
Enhanced Curb Appeal
A well-maintained concrete driveway can significantly enhance the overall curb appeal of your home. A smooth, crack-free surface gives your property a polished and inviting appearance. It creates a positive first impression for guests and potential buyers, adding value to your home.
Improved Safety
A well-maintained driveway ensures a safer environment for you and your loved ones. Regular inspections and repairs prevent the accumulation of cracks and potholes, which can lead to tripping hazards and potential accidents. Smooth surfaces also provide better traction, especially during wet weather conditions.
Prevention of Further Damage
By promptly repairing minor cracks, you can avoid the escalation of damage. If left unattended, small cracks can widen over time, allowing water penetration and causing more extensive damage to the underlying structure. Regular maintenance helps you address issues early on, preventing costly repairs in the future.
Longer Lifespan
Proactive maintenance measures, such as sealing and resealing your concrete driveway, can significantly extend its lifespan. Sealing protects the surface from moisture, UV rays, and other harmful elements, minimizing the risk of cracks and deterioration. This ensures that your driveway remains in excellent condition for many years to come.
Reduced Maintenance
A well-maintained concrete driveway requires less ongoing maintenance compared to other materials like asphalt. Concrete is known for its durability and resilience, requiring fewer repairs and replacements. By investing in regular maintenance, you can enjoy the convenience of a low-maintenance driveway.
In summary, investing in the maintenance of your concrete driveway brings numerous benefits, including enhanced curb appeal, improved safety, prevention of further damage, a longer lifespan, and reduced maintenance. By following proper maintenance practices and addressing repairs promptly, you can enjoy these advantages and ensure the longevity of your concrete driveway.
Tips for Preventing Damage in the Future
Taking preventive measures can help ensure the long-term durability and appearance of your concrete driveway. By implementing the following tips, you can reduce the risk of cracks and other damage:
Regular Inspection and Maintenance
– Schedule regular inspections to identify any signs of damage or deterioration early on.
– Perform routine maintenance tasks such as cleaning, removing debris, and repairing minor issues promptly.
Driveway Sealing
– Apply a high-quality concrete sealer regularly to protect your driveway from moisture and freeze-thaw cycles.
– Choose a sealer appropriate for your specific climate and follow the manufacturer’s instructions for application.
Cautious Use of De-icers
– Avoid using harsh de-icing chemicals that can cause damage to your concrete driveway.
– Opt for safer alternatives like sand, kitty litter, or eco-friendly de-icers that are less likely to harm the concrete surface.
Regular Cleaning
– Keep your driveway clean by removing oil stains, dirt, and debris on a regular basis.
– Use a pressure washer or a mixture of mild detergent and water to maintain a pristine appearance.
Proper Drainage
– Ensure that your driveway has adequate drainage to prevent water from pooling and seeping into the concrete.
– Install appropriate drainage systems or make sure existing ones are functioning properly.
Implementing these preventive measures not only minimizes the risk of damage but also extends the lifespan of your concrete driveway. By investing time and effort in maintenance, you can enjoy a beautiful and durable surface for years to come.
Remember, each driveway is unique, and the needs may vary depending on factors like climate and usage. Consider consulting with an industry expert or a professional concrete contractor for personalized advice tailored to your specific circumstances.
By following these tips, you can protect your investment and enjoy a stunning, damage-free concrete driveway.
Concrete Driveway Repair: Get Started Today
Now that you have learned the essential steps to repair cracks in your concrete driveway, it’s time to kickstart your repair project. With the right tools, materials, and guidance, you can save money and ensure the longevity of your driveway. Remember, maintaining a well-maintained concrete driveway not only enhances the curb appeal of your home but also prevents further damage in the long run.
To get started with your concrete driveway repair, consider the following tips:
1. Gather the necessary tools and materials: Before you begin, make sure you have a pressure washer, a pool noodle or roll of backer rod, flexible polyurethane caulk, a spray bottle with soapy water, and enough dry concrete mix. These essentials will help you effectively repair the cracks in your driveway.
2. Clean the area thoroughly: Start by washing the concrete surface to remove any dirt, debris, or loose concrete particles. This ensures that the repair materials adhere properly and provide a durable finish.
3. Fill the cracks: Use a flexible polyurethane caulk to fill the cracks in your concrete driveway. Apply the caulk in a smooth motion, ensuring that all cracks are properly filled. For larger cracks, consider using a pool noodle or backer rod to provide a solid base for the caulk.
4. Smooth out the repaired areas: Once the cracks are filled, use a tool or putty knife to smooth out the repaired areas for a professional finish. This step ensures that the repaired sections blend seamlessly with the rest of the driveway.
5. Let the repaired areas dry: Allow the repaired areas to dry completely before applying any further treatments or sealants. Follow the manufacturer’s instructions for the recommended drying time.
Conclusion
By following these steps and taking proper care of your concrete driveway, you can enjoy a durable and aesthetically pleasing surface for years to come. Don’t forget to share this comprehensive guide with others who may benefit from it!
Remember, taking the time to repair your concrete driveway today will not only save you money in the long run but also ensure a safer and more appealing environment for your home.